
I’m putting this on my blog, as I want to have a quick resource and reference for myself, it might help others, and I might even get people to provide some invaluable knowledge as well.
I have a certain thing I want to achieve, that is : I want to end up with a Python-based website which has an e-commerce facility, as well as being able to handle a customer base and all that entails.
For this mission, I have chosen Django, Mezzanine, Cartridge, with Postgresql. Mezzanine is based on Django, the Python-based web framework.
Cartridge integrates with Mezzanine.
For the database, I want to use Postgresql.
Setting up the Python side of things…
Okay so I need to decide which version of Python to use.
There are a lot of django addons which haven’t yet been ported to Python 3. Come on guys, it really is time to move on from Python 2 to Python 3 fer goodness sake. Quit dragging yer feet!
However, I like Python 3.x much, much more than I like Python 2.x – when I set out to learn Python, I decided to follow the recommendation on the Python website to use Python 3, so I did. Django works on Python 3, as does Mezzanine, and Cartridge. So far so good.
On my Debian unstable-based workstation, I already have Python 3.x (3.3 and 3.4 at time of writing) installed.
Also, I needed to install the python3-pip package, for python 3.x.
I also installed the virtualenv and virtualenvwrapper packages. These will be handy for easily setting up development environments.
$ sudo apt-get install python3-pip virtualenv build-essential python3-setuptools
I’d have also included mkvirtualenv there, but I found that setting up the virtualenvs in the next steps was problematic due to the Debian package, this fixes that…
$ sudo pip3 install mkvirtualenv
Speaking of which, I need somewhere to keep these virtual python environments, so…
$ mkdir ~/.virtualenvs
Then…
$ vim ~/.bashrc
And add this to the bottom of the .bashrc file so that every time I login or run a terminal my environment is set up to use ~/.virtualenvs as the location to keep all my virtual python environments…
export VIRTUALENVWRAPPER_PYTHON=/usr/bin/python3
export WORKON_HOME=$HOME/.virtualenvs
source /usr/local/bin/virtualenvwrapper.sh
export PIP_VIRTUALENV_BASE=$WORKON_HOME
That all done, I can now create a virtual environment at will. I’ll do that now…
$ mkvirtualenv test1
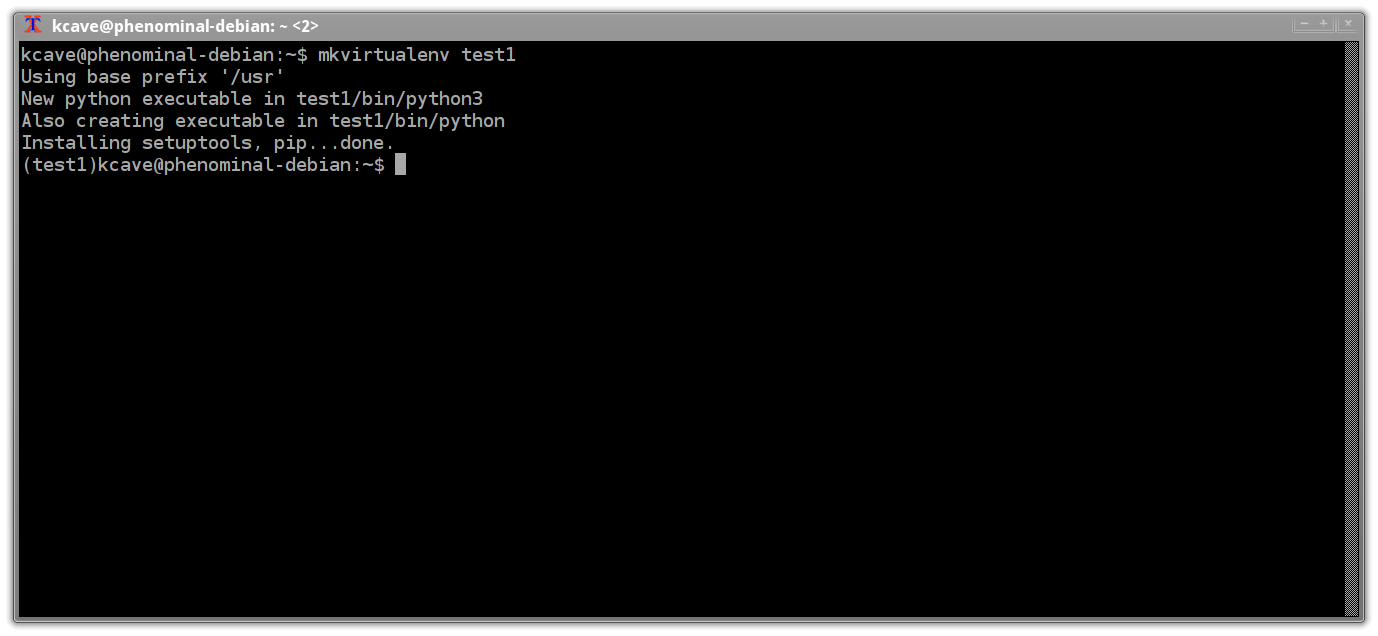
Good, that seems to work fine, and if I ls ~/.virtualenvs/test1 I see the virtual environment stored in there as planned. All is well so far.
Notice that (test1) in front of the normal CLI prompt? That means that the mkvirtualenv command not only created the virtual environment, it automatically invoked the workon test1 command for me – very handy.
To stop working on the test1 virtual environment, I just need to use the deactivate command.
And to work on the test1 environment again, I just need to issue the workon test1 command. It’s like some kind of awesome magic. I like magic.
I’m done with the Python side of things for now. Let’s set up the back-end database stuff…
Setting up the Postgresql side of things
Install PostgreSQL…
$ sudo apt-get install postgresql postgresql-client pgadmin3 postgresql-contrib postgresql-server-dev-all
Configure the admin password…
sudo -u postgres psql postgres
[sudo] password for kcave:
psql (9.3.4)
Type "help" for help.
postgres=# \password postgres

Enter new password:

Enter it again:

postgres=# \q
Configure a postgres account for my user, for convenience. This means I need to add a postgres user (as a superuser), set the password for that user, and it also requires a database named after that user…
sudo -u postgres createuser --superuser $USER
sudo -u postgres psql
postgres=# \password {your username}
Enter new password:
Enter it again:
\q
createdb $USER;
And we can now create Postgresql databases to our hearts content. Next up…
Setting up the mezzanine/django/cartridge side of things…
Since I set up the python virtual environments earlier, this is very, very straightforward.
First of all, I’m going to make a directory in my home directory, to store the Django/Mezzanine/Cartridge project(s)…
$ mkdir ~/DEVPROJ
Now it’s time to grab what’s needed to create the django/mezz/cart project…
The procedure goes like this
Create a virtualenvironment for use with our Django/Mezzanine/Cartridge development, using the current python 3.x as our Python version…
$ mkvirtualenv -p /usr/bin/python3 PROJ1
$cd ~/DEVPROJ
Install the packages necessary to create the django/mezz/cart project…
We do this by using the pip command. Since we’re already in the PROJ1 virtualenv (as can be seen by the (PROJ1) prepended to your CLI prompt), anything we install using pip will be installed to the virtual environment, and not to your root system. Again, some awesome magic, and very convenient if you want to try different versions of python and/or different blends/combinations of python packages…
Before we start, as an example, let’s see what packages are currently in our virtual env…
(PROJ1)kcave@phenominal-debian:~/DEVPROJ$ pip list
pip (1.5.6)
setuptools (3.6)
(PROJ1)kcave@phenominal-debian:~/DEVPROJ$
Not much, but that’s fine, let’s get the other required stuff. We’re using postgresql as our back-end database, so…
(PROJ1)kcave@phenominal-debian:~/DEVPROJ$ pip install psycopg2
Downloading/unpacking psycopg2
Downloading psycopg2-2.5.3.tar.gz (690kB): 690kB downloaded
Running setup.py (path:/home/kcave/.virtualenvs/PROJ1/build/psycopg2/setup.py) egg_info for package psycopg2
... lots of compiling messages
Successfully installed psycopg2
Cleaning up...
(PROJ1)kcave@phenominal-debian:~/DEVPROJ$
Which has successfully installed the python-PostgreSQL Database Adapter.
I’ve seen recommendations to also install South, which is a package for django database migrations. So let’s do that now…
$ pip install south
Now to install Cartridge. This should also automatically install mezzanine, Django, and whatever else is needed for those to work…
$ pip install cartridge
After all that’s done, my virtualenv now has all these packages installed and ready for use and development…
$ pip freeze
Cartridge==0.9.4
Django==1.6.5
Mezzanine==3.1.5
Pillow==2.4.0
PyPDF2==1.22
South==0.8.4
bleach==1.4
filebrowser-safe==0.3.4
future==0.9.0
grappelli-safe==0.3.11
html5lib==0.999
oauthlib==0.6.3
psycopg2==2.5.3
pytz==2014.4
reportlab==3.1.8
requests==2.3.0
requests-oauthlib==0.4.1
six==1.7.2
tzlocal==1.0
xhtml2pdf==0.0.6
Seems like we’re ready to rock’n’roll.
Creating a Django/Mezzanine/Cartridge project…
Inside the project root directory created earlier (~/DEVPROJ), we want to create a django/mezz/cart (from now on I’ll refer to those as “DMC”) project tree…
$ mezzanine-project -a cartridge PROJ1
I’ve kept the name of the DMC project the same as my virtualenv name – they can of course be different, but personally my poor brain will be able to cope better this way.
You should now have a directory called PROJ1 inside your ~/DEVPROJ directory. I do, I just checked ;)
$ cd PROJ1
~/DEVPROJ/PROJ1$ ls
deploy fabfile.py __init__.py local_settings.py manage.py __pycache__ requirements.txt settings.py urls.py wsgi.py
So we see various files and subdirectories there. Good. No error messages was also Good News.
One of the more important files is manage.py. That’s used to do various tasks such as starting the local web server so you can browse to your development DMC setup and develop and test it.
What I’ll do is make that executable for convenience, otherwise we’ll be having to type “python manage.py” all the time, and I’m lazy…
$ chmod u+x manage.py
Done. Before we can actually run the local webserver stuff, we need to configure a database for it…
$ createdb PROJ1
Done. ;) There now exists a PostgreSQL database named PROJ1. Easy.
To access that, we’ll need to edit the local_settings.py file to suit our needs…
$ vim local_settings.py (or nano or gedit or whatever your favourite editor is)
The local_settings.py file at first looks like this :
DEBUG = True
# Make these unique, and don't share it with anybody.
SECRET_KEY = "a8f40eec-cf7f-437e-add0-fa65e59d71a8ebf3c9f4-5372-47cf-8d07-652907c8163b257d469d-34c5-467e-8328-84492381e957"
NEVERCACHE_KEY = "a7224873-e8a9-4222-ae0a-8ca83d6968a3f6803618-9e8f-43da-8908-2d9caccffdabf3a92539-ce65-43eb-bbdb-b2ad107ff4ba"
DATABASES = {
"default": {
# Ends with "postgresql_psycopg2", "mysql", "sqlite3" or "oracle".
"ENGINE": "django.db.backends.sqlite3",
# DB name or path to database file if using sqlite3.
"NAME": "dev.db",
# Not used with sqlite3.
"USER": "",
# Not used with sqlite3.
"PASSWORD": "",
# Set to empty string for localhost. Not used with sqlite3.
"HOST": "",
# Set to empty string for default. Not used with sqlite3.
"PORT": "",
}
}
For ENGINE, change “django.db.backends.sqlite3” to be “django.db.backends.postgresql_psycopg2“
For NAME, change “dev.db” to be the name of the database, in this case “PROJ1“
For USER, insert the database username. This will be the postgres user you set up earlier, in my case, it’s “kcave“, yours will be different.
For PASSWORD, insert your database user’s password in between the empty doublequotes. I ain’t telling you my password(s) :D
For HOST, enter “localhost” between the empty doublequotes
And for PORT, set that to “5432“, which is or should be your default port for talking to PostgreSQL.
Save the file.
It should now look something like this…
DEBUG = True
# Make these unique, and don't share it with anybody.
SECRET_KEY = "a8f40eec-cf7f-437e-add0-fa65e59d71a8ebf3c9f4-5372-47cf-8d07-652907c8163b257d469d-34c5-467e-8328-84492381e957"
NEVERCACHE_KEY = "a7224873-e8a9-4222-ae0a-8ca83d6968a3f6803618-9e8f-43da-8908-2d9caccffdabf3a92539-ce65-43eb-bbdb-b2ad107ff4ba"
DATABASES = {
"default": {
# Ends with "postgresql_psycopg2", "mysql", "sqlite3" or "oracle".
"ENGINE": "django.db.backends.postgresql_psycopg2",
# DB name or path to database file if using sqlite3.
"NAME": "PROJ1",
# Not used with sqlite3.
"USER": "kcave",
# Not used with sqlite3.
"PASSWORD": "NUNYABZNZ",
# Set to empty string for localhost. Not used with sqlite3.
"HOST": "localhost",
# Set to empty string for default. Not used with sqlite3.
"PORT": "5432",
}
}
I’ve changed the identity of my password to protect the innocent ;) I don’t care about the SECRET_KEY and NEVERCACH_KEY because I’m going to get rid of this PROJ1 eventually.
Now that DMC knows how to access its back-end database, we now need to create all the tables. This is extremely tricky and difficult, and will take at least an hour to do… actually no, it’s really easy…
$ ./manage.py createdb
...blahblah....
Creating tables...
...automatic magic...
See? Now, eventually you’re greeted with a question…
You just installed Django's auth system, which means you don't have any superusers defined.
Would you like to create one now? (yes/no):
Answer “yes“.
Username (leave blank to use 'kcave'):
Press return.
Email address:
Enter your email address.
Password:
Enter a password for this user
Password (again):
Enter it again
Superuser created successfully.
A site record is required.
Please enter the domain and optional port in the format 'domain:port'.
For example 'localhost:8000' or 'www.example.com'.
Hit enter to use the default (127.0.0.1:8000):
Hit Enter.
Creating default site record: 127.0.0.1:8000 ...

Installed 2 object(s) from 1 fixture(s)
Would you like to install an initial demo product and sale? (yes/no):
Answer “yes” if you want.
Creating demo product and sale ...
Installed 25 object(s) from 1 fixture(s)
Installed 2 object(s) from 1 fixture(s)
Would you like to install some initial demo pages?
Eg: About us, Contact form, Gallery. (yes/no):
Answer “yes” if you want.
Installing custom SQL ...
Installing indexes ...
Installed 0 object(s) from 0 fixture(s)
South is installed for this project.
Would you like to fake initial migrations? (yes/no):
Answer “yes“.
Faking initial migrations ...
(PROJ1)kcave@phenominal-debian:~/DEVPROJ/PROJ1$
And that’s it, all done and ready to run.
Run the test web server and browse to your new test project.
$ ./manage.py runserver
...blahblah...
Validating models...
0 errors found
June 14, 2014 - 12:42:13
Django version 1.6.5, using settings 'PROJ1.settings'
Starting development server at http://127.0.0.1:8000/
Quit the server with CONTROL-C.
All going well, it’ll start the development server. You might see some whining about stuff not being explicitly set, ignore that for now because that’s a problem for another time and outwith the scope of this article, which is to get a dev environment up and running. Let’s have a look at our new development site which is at http://localhost:8000 …
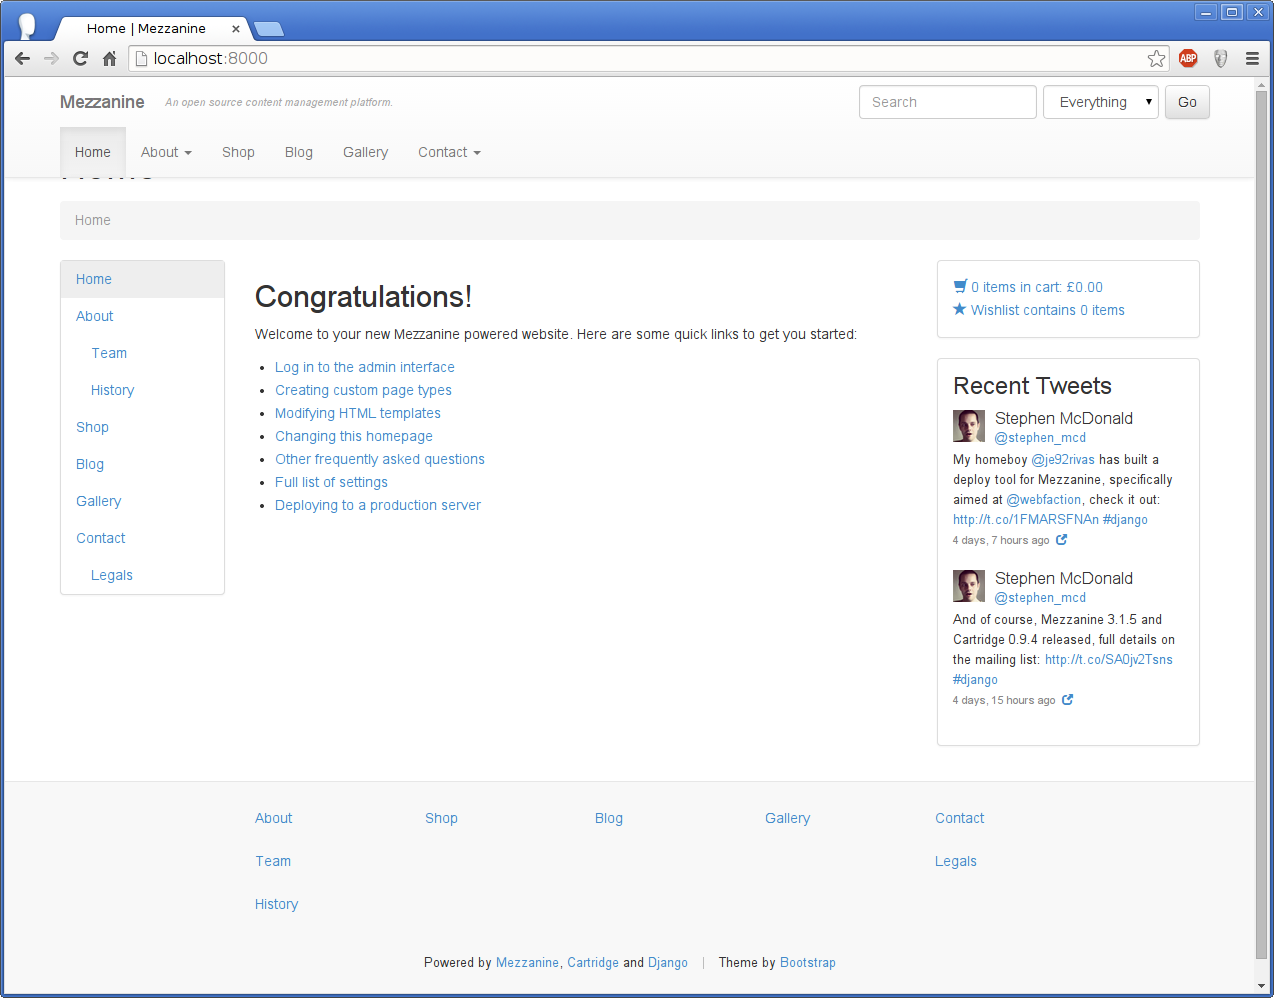
Bingo! Up and running.
Now go to http://localhost:8000/admin and log in with the user and password details you set up in the last steps…
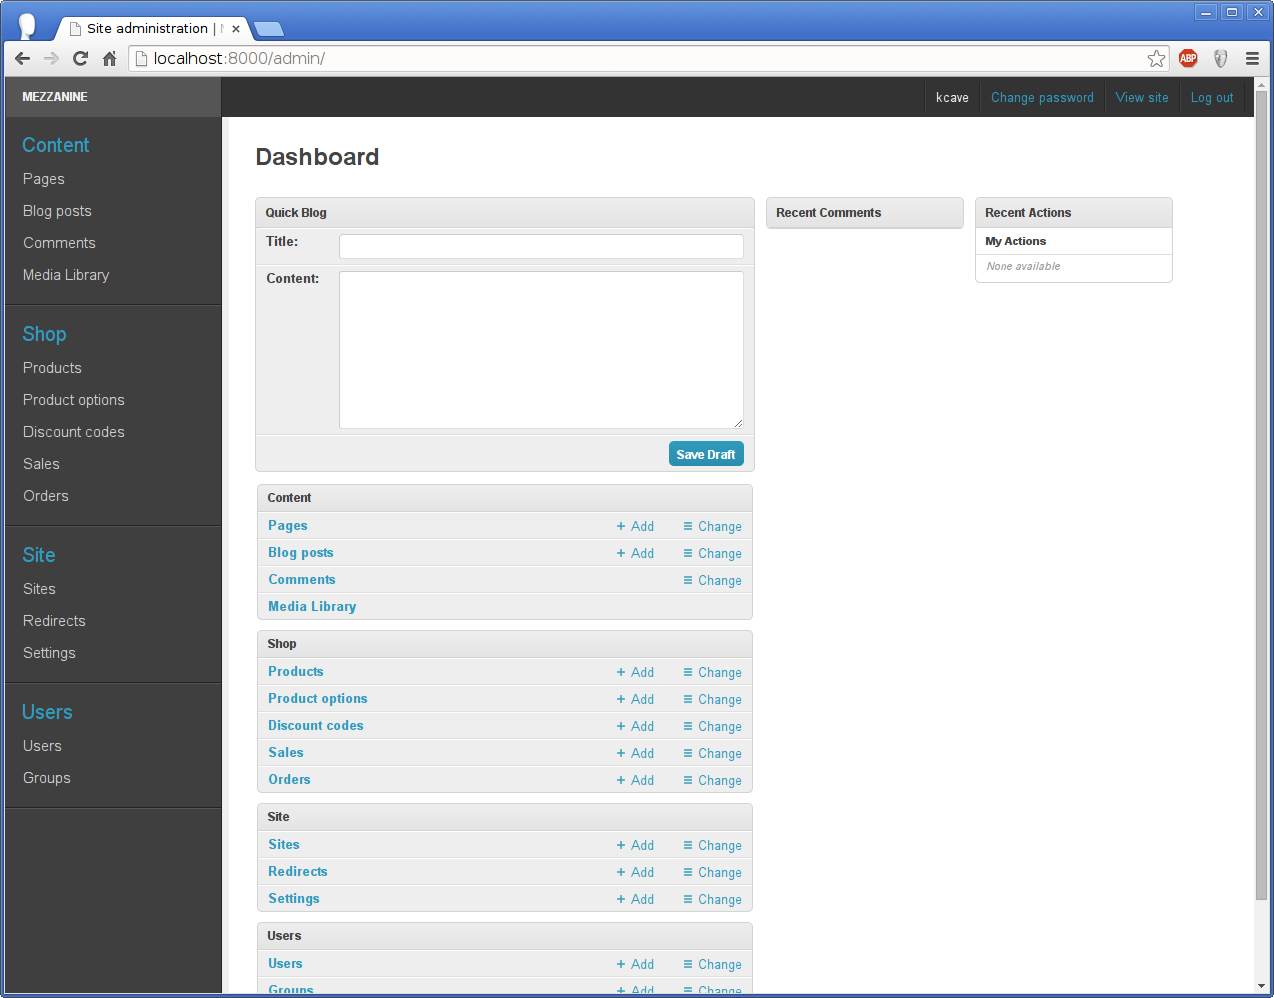
Aaaand we’re done for now. :D
Further reading (which is what I’m doing now)…
If anyone has further info they’d like to add to improve this post, please reply below.
Django, Mezzanine, Cartridge, with Postgresql | 01,


Thanks for gr8 post I am keen to start learning python django and mezzanine but I have been getting stuck for hours at a time on what should be a five minute task I will keep plodding along helped a gr8 deal with input such as yours many thanks
No problemo – glad it helped!
I’ll shortly be writing up a new article but using a different CMS.
I’ve spent the weeks since writing this article tearing what’s left of my hair out,
trying to get things working. Learned a bit more on the DJango front because of that.
Turns out the DMC combination above doesn’t quite suit my needs as much as I thought.
I’ve finally settled on Something Different, but still involving Django.
Article coming Soon[tm]
Regards
Please make tutorial for deploying in vps
perfect!